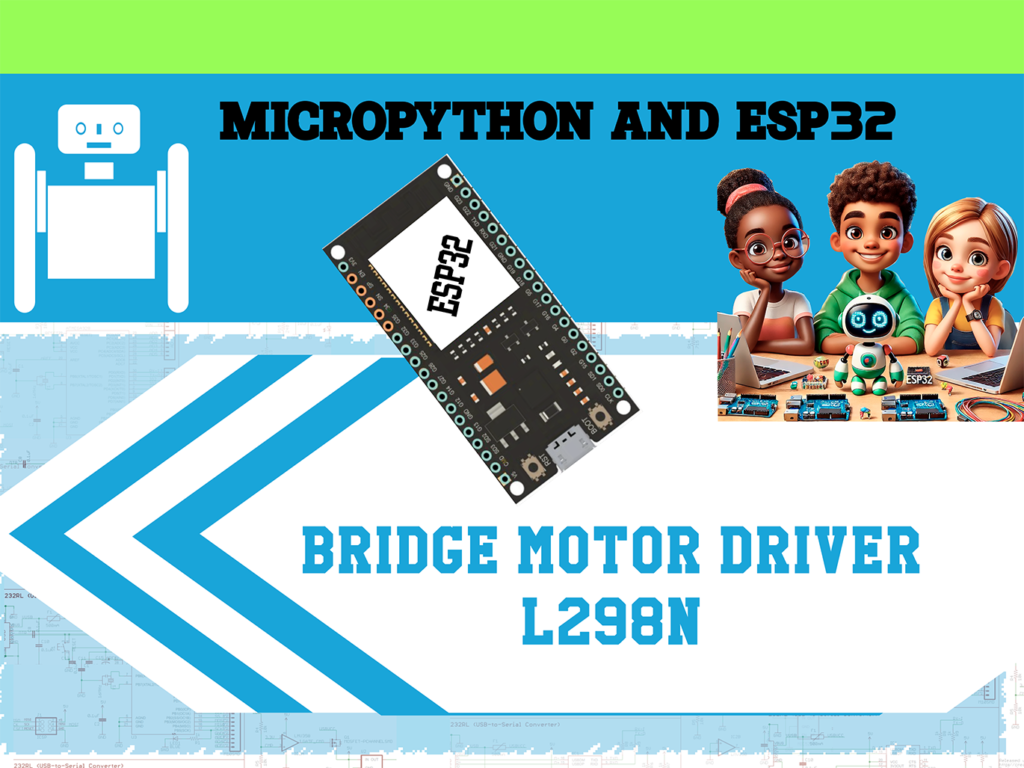
Wiring the Components:
1. Motor Driver
(e.g., L298N):
• Input Pins (IN1, IN2):
Connect these to GPIO pins on the ESP32.
• Motor Output Pins (OUT1, OUT2):
Connect these to the terminals of the DC motor.
• Power Pins (VCC, GND):
Connect the VCC to your power source and GND to the ground.
• Enable Pin (if available):
Connect this pin to 3.3V or use PWM to control the motor speed.
2. DC Motor:
• Connect the terminals of the DC motor to OUT1 and OUT2 of the motor driver.
from machine import Pin, PWM
import time

# Define GPIO pins for motor control
IN1 = Pin(12, Pin.OUT)
IN2 = Pin(14, Pin.OUT)
EN = Pin(27, Pin.OUT)  # Enable pin for speed control

# Initialize PWM for speed control
pwm = PWM(EN)
pwm.freq(1000)  # Frequency of PWM signal
pwm.duty(512)   # Duty cycle (0-1023), 512 is 50% duty cycle

def forward():
    IN1.value(1)
    IN2.value(0)

def backward():
    IN1.value(0)
    IN2.value(1)

def stop():
    IN1.value(0)
    IN2.value(0)

# Main loop
while True:
    forward()
    print("Motor moving forward")
    time.sleep(3)  # Run motor forward for 3 seconds

    stop()
    print("Motor stopped")
    time.sleep(1)  # Stop for 1 second

    backward()
    print("Motor moving backward")
    time.sleep(3)  # Run motor backward for 3 seconds

    stop()
    print("Motor stopped")
    time.sleep(1)  # Stop for 1 second
———————————————————————————–
Explanation:
1. Imports:
•Pin and PWM are imported from the machine module for GPIO and PWM control.
•time is used for delays.
2. Pin Definitions:
•IN1 and IN2 control the motor direction.
•EN is the enable pin for speed control.
3. PWM Initialization:
•The PWM object is created for the EN pin with a frequency of 1000 Hz. The duty cycle is set to 50% (512 out of 1023).
4. Motor Control Functions:
•forward(): Sets IN1 high and IN2 low to move the motor forward.
•backward(): Sets IN1 low and IN2 high to move the motor backward.
•stop(): Sets both IN1 and IN2 low to stop the motor.
5. Main Loop:
•Alternates the motor direction every few seconds and stops in between.
Make sure you adjust the GPIO pins (12, 14, and 27 in this example) according to your specific setup and wiring. This script should be saved and run on your ESP32 using Thonny or another MicroPython IDE.